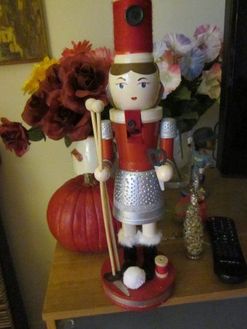
 Last week, I told you about seeing the Joffrey Ballet's "Nutcracker" with my nieces, Sallie and Colleen. Since then, I've been fascinated by nutcrackers. My Los Angeles sewing partner, Evette, and I were in Joann's Fabrics in Studio City, stocking up on doll- making supplies last week when Evette stopped in her tracks, and I, being right behind her, bumped into her! "Look at that!" she exclaimed. There was a nutcracker display with all items 60% off! As we looked, we were tempted, because, after all, what is a nutcracker but a wooden doll? But then she saw a tailor, holding a bag of spools of thread in one hand and a pair of golden scissors in the other. On his head, instead of the black beefeater pompom, was a red pincushion, complete with pins. It was love at first sight and Mr. Tailor was in Evette's cart before you could say "Sugar Plum Fairy!" Then I spied the seamstress. (In case you hadn't noticed, female nutcrackers are hard to find.) I knew when I saw her, at 60% off, that she was mine. She has a silver thimble skirt, a spool of red thread for a hat, and an old-fashioned, painted face. Sallie, who came over on Saturday to make dolls, told me that she got a nutcracker, too. After politely admiring Samantha the Seamstress and the tree, and lining up all the dolls on the bed in the sewing room as if they were on a toboggan about to slide down a snowy hill, we set up shop for our day of doll making. Out came the cutting board, the bowl of thread, the box of fabric, the jar of art pencils and markers, and the sewing machine. Sallie wanted to make a small doll, a la Mirabel (see the Doll Gallery), and was hoping to finish in one day. 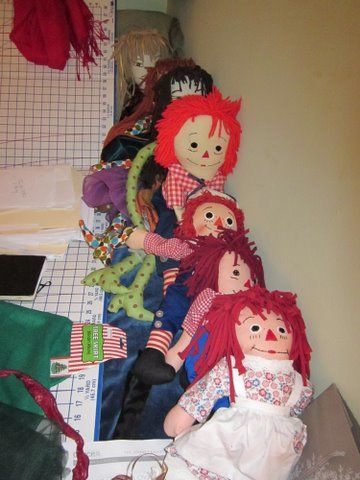 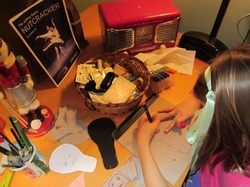 We started by choosing from a selection of homemade patterns. This one was copied from a vintage Guatemalan doll bought at a thrift store a few years ago. She is handmade and you can see the stitches where the legs are attached. The clothes are intricate and colorful and sewn to her body. Next, Sallie traced the head on a piece on paper and drew the face, which was a classic doll face that looked a little bit like Samantha. Then she pinned the pattern to the fabric and cut out the head, using café au lait muslin for the face and black for the back of the head. The next step was to trace the face onto the fabric through the paper with a very sharp pencil. Then we had to make a tactical decision: To embroider the face or to draw it? As it was already 2:30, Sallie decided to depart from tradition and draw the face with permanent markers.  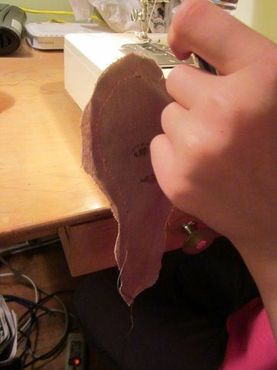 After a practicing on a piece of fabric (I told her to keep it because it was so pretty!), Sallie drew the face in minutes, as compared to the hour or so it would have taken to embroider. Next, we pinned right sides together and stitched the head. After that, Sallie turned the head inside out and stuffed it. The turning and stuffing is time-consuming and takes some practice, but Sallie got it done to her satisfaction. Doll heads made this way tend to be a little imperfect and can look misshapen, but this is where a great hairdo comes in. I had a little doll wig already cut from the sleeve of a black tee shirt which fit the bill and after pinning it on, fashioning two braids and tying the ends with blue embroidery thread, Sallie's doll was coming to life! 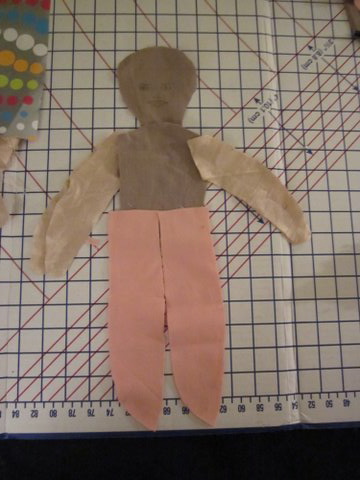 We took a break for hot dogs and fries and a walk to the fabric store, (sewing is tiring!), and then were back at work. Now it was time to cut out the body, arms and legs, all from different fabric, chosen by Sallie. After pinning the pieces, right sides together, Sallie and I took turns sewing them on to the body. Sallie next turned and stuffed one arm while I did the other. We then attached the arms to the unstuffed body, after which Sallie stuffed the body and I attached the legs. We were almost done, but it was almost time for Sallie to go home! (Sallie's mom and dad had come over in the meantime and brought some delicious mac and cheese for dinner, so we took another break.) 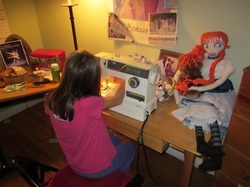 With her Mom's permission, we were granted an hour to finish. I opened up the top of the body, took out some stuffing and stuffed the neck in, then pinned the head in place and quickly sewed it them together. Then I sewed on the hair with a few stitches and Sallie's first small doll was done! But because we had finished in a hurry, there are some things we may want to fix, such as reattaching the legs so the doll can stand on her own and re- sewing her head on so you can't see the stitching. Then we can sew on the blue sparkly necklace Sallie chose, and even the tiniest stitches won't show. Last but not least, Sallie wants to make her a brown dress, inspired by "Chocolate," the Spanish dancer from the "Nutcracker." So we need to have another sewing session soon!  Sophie and I continue to brainstorm about dollsbysasha.com and how we can make dolls
and contribute to the world we live in at the same time. We've decided to ask Sallie to help with some ideas and maybe even write her own doll blog. Meanwhile, Sophie has been experimenting with a new format for the website, has started writing a children's book about Suki in Costa Rica and has come up with some amazing drawings. Malakei Lucian is starting to contribute some ideas too, so we'll have lots to talk about next time. We'd love your input too, so please feel free to leave comments! More next time… And don't forget to enjoy the holiday season! Sasha
1 Comment
|
Archives
December 2017
Categories
All
|
 RSS Feed